Teamup Ticker
Use case: Share status updates from a job calendar with your clients
Teamup has multiple access permissions that provide granular control over what you share with others. If you want to share status updates or availability with a client, you can do so securely.
For example, perhaps you want to share project updates with a client. You can create a read-only link that includes the relevant project sub-calendars, and give that link to your client. Then your client can view (but not add, modify, or delete) all the events and event information on those project calendars.
Or, in another scenario, you may want to show a client your availability. But they don't need to see the details of your calendar. So you could provide a read-only, no details link that shows your calendar with scheduled events as Reserved, and no event details included.
However, sometimes you may want a solution that falls a bit in-between. You might want to share some event information, like a job status or project update with customers. But you don't want to share all the event details.
If you want to share some information from a calendar, but not all, here is a workable solution.
How to share limited event information
To set this up, you need the Source calendar (where the events originate), and you'll need to create a separate Teamup master calendar to serve as the Client View calendar. You'll set up a read-only feed from the Source Calendar into the Client View calendar. Each feed can be client-specific. Then, on the Client View calendar, you'll disable all event fields that you don't to include in the client's view.
Here are the steps in more detail.
- Add client sub-calendars to the Source Calendar.
- Create a Client folder. Add one sub-calendar for each client to this folder. You will assign jobs/events to the appropriate client's sub-calendar (as well as any other internal sub-calendars you use, such as production phase or job type or assigned tech, etc.
- These client sub-calendars make it possible to set up a feed that is client-specific, so the clients will see only their own jobs/events/projects.
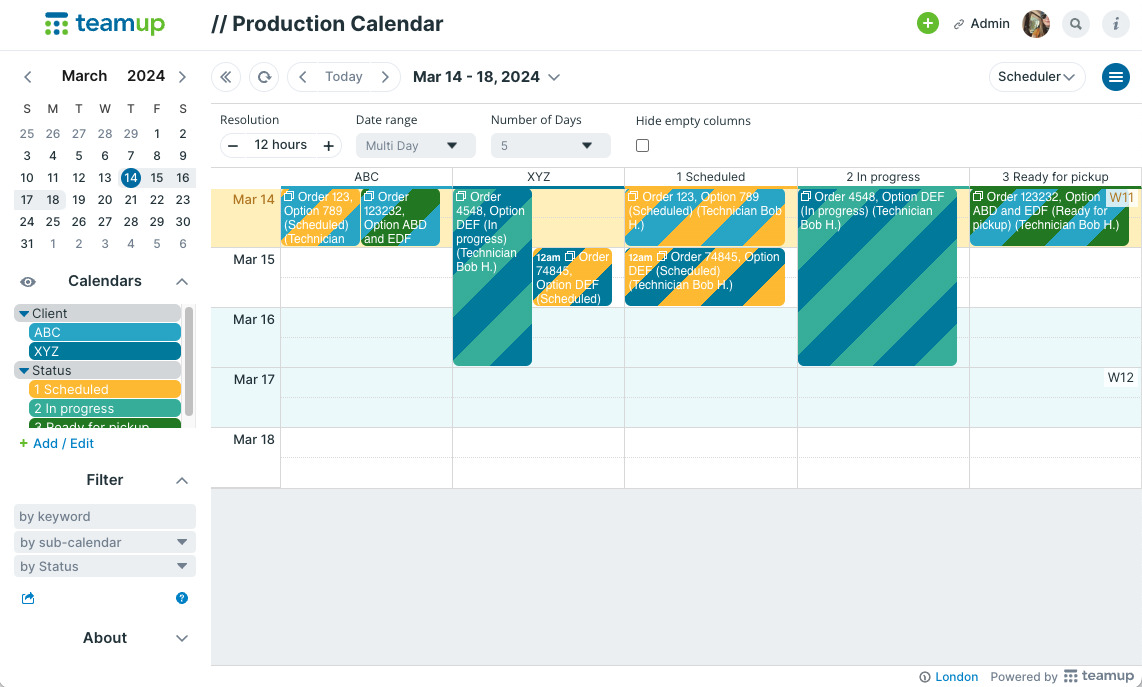
- An example of a Source Calendar with Status sub-calendars and Client sub-calendars:
- Add custom field(s) for the information you want to share with clients.
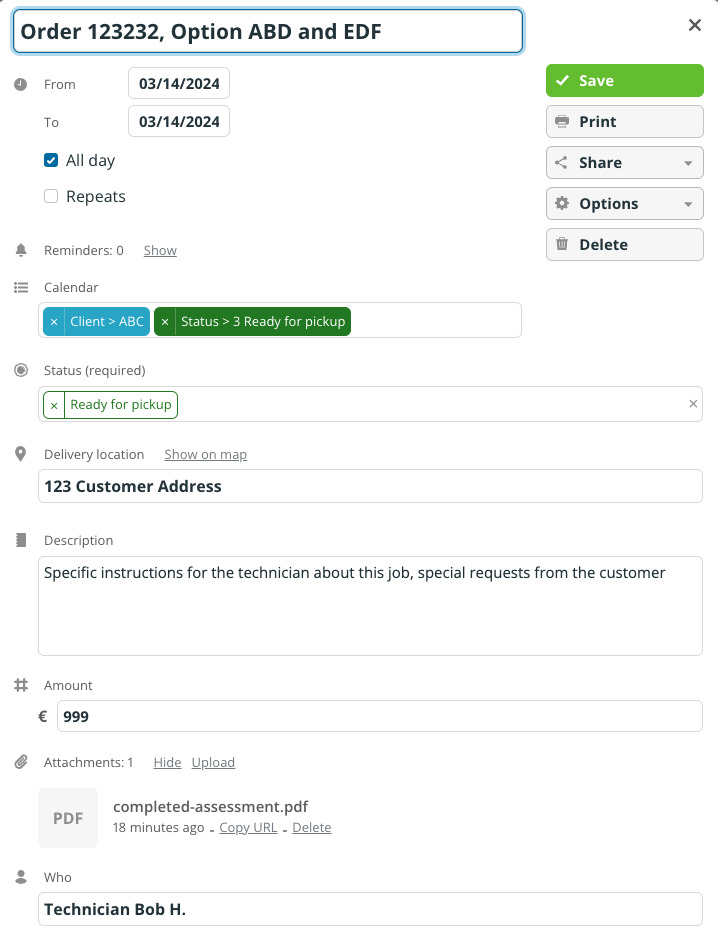
- For example, if you want to share each production phase with clients, but you currently track the phase via sub-calendar, you'll need to create a custom field with options for each production phase. Then, when you move an event to a different project phase sub-calendar, you'd also update the phase in the custom field.
- If you already have these custom fields in place, no need to add more.
- Note that any information in the event title will be visible in the Client View calendar.
- Set up the Client View calendar.
- Create a new Teamup master calendar to be the Client View calendar. You can use the Basic (free) plan for up to 8 iCalendar feeds (and 1 custom field).
- For any custom field(s) created in step 2, that you want to share with clients, you'll need to create an exact duplicate in the Client View calendar. This will allow those custom fields to "carry over" through the iCal feed into the Client View calendar.
- Disable other fields in the Client View calendar.
- Any custom fields that do not have an exact duplicate in the Client View calendar are added to the Description field. So it's important to disable the Description field on the Client View calendar.
- In the Client View calendar, go to Settings > Event Fields.
- Disable the Description field.
- Disable any other built-in fields you do not want the client to see:
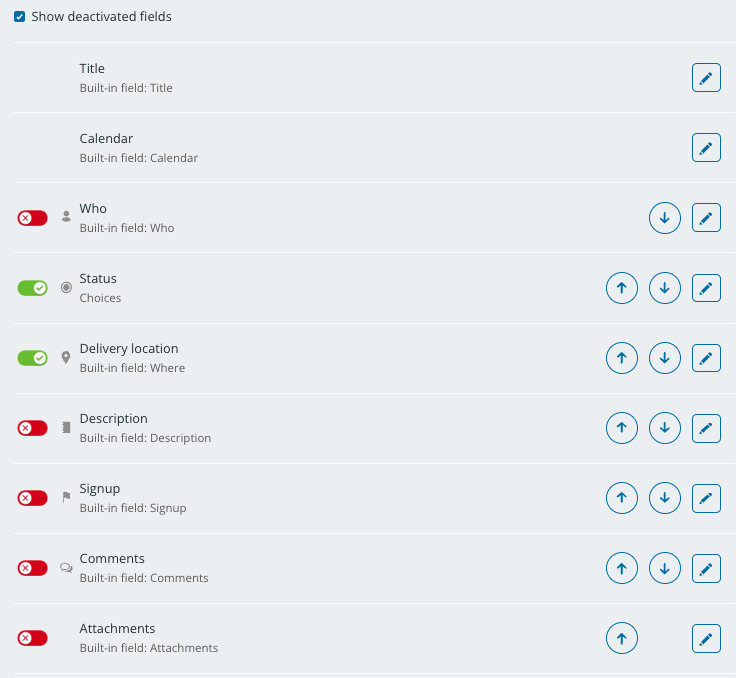
- Note: It's not possible to disable the Title field or the Calendar field.
- Set up the iCalendar feed for each client.
- Here's the process for Client ASD:
- In the Source calendar, go to Settings > Sharing > Create Link.
- Name the link "Client ABC" or similar.
- Give read-only permission only to Client ABC sub-calendar(s). Set all other sub-calendars to Not Shared.
- Open the Client ABC read-only link, then get the iCalendar feed URL:
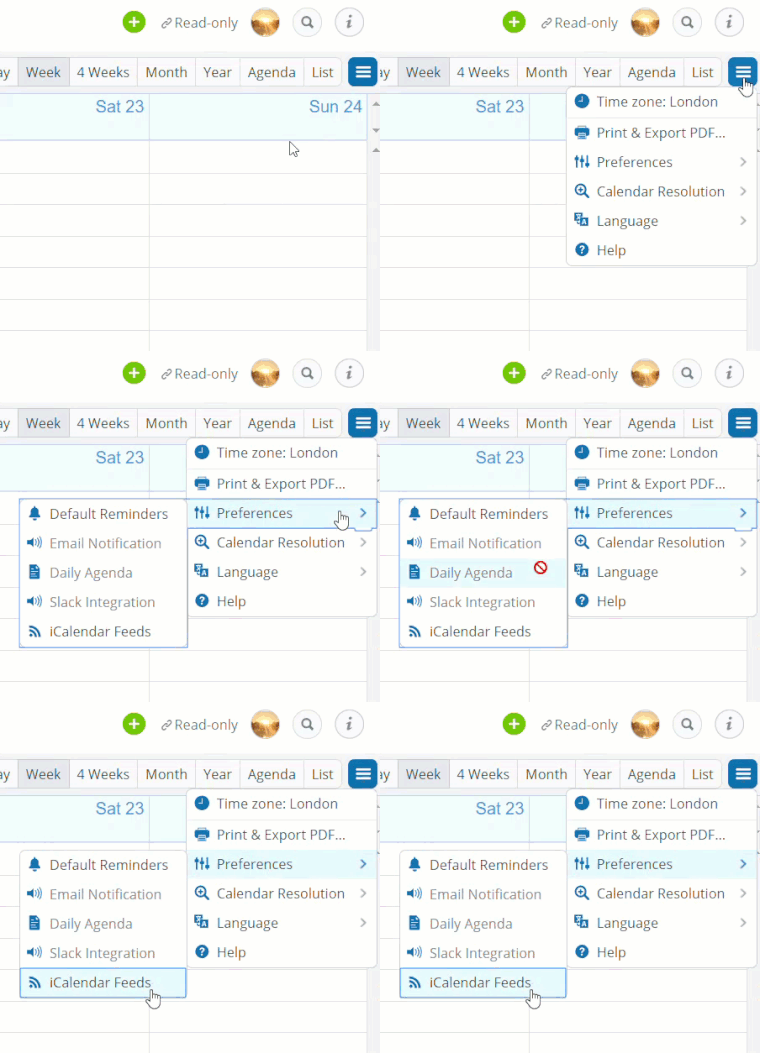
- Copy the iCalendar feed URL for Client ABC.
- Open the Client View calendar and go to Settings > Calendar > New > Add iCalendar feed.
- Name the feed (e.g. "Client ABC Feed"), then paste in the iCalendar feed URL for Client ABC.
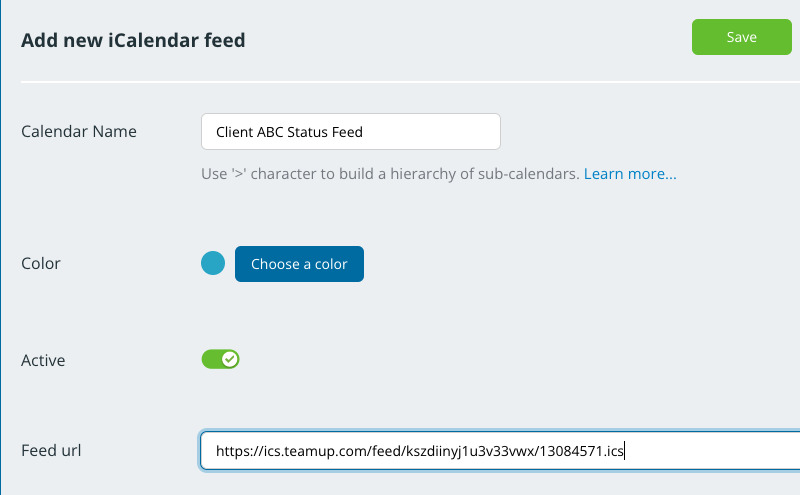
- Repeat this process for each client.
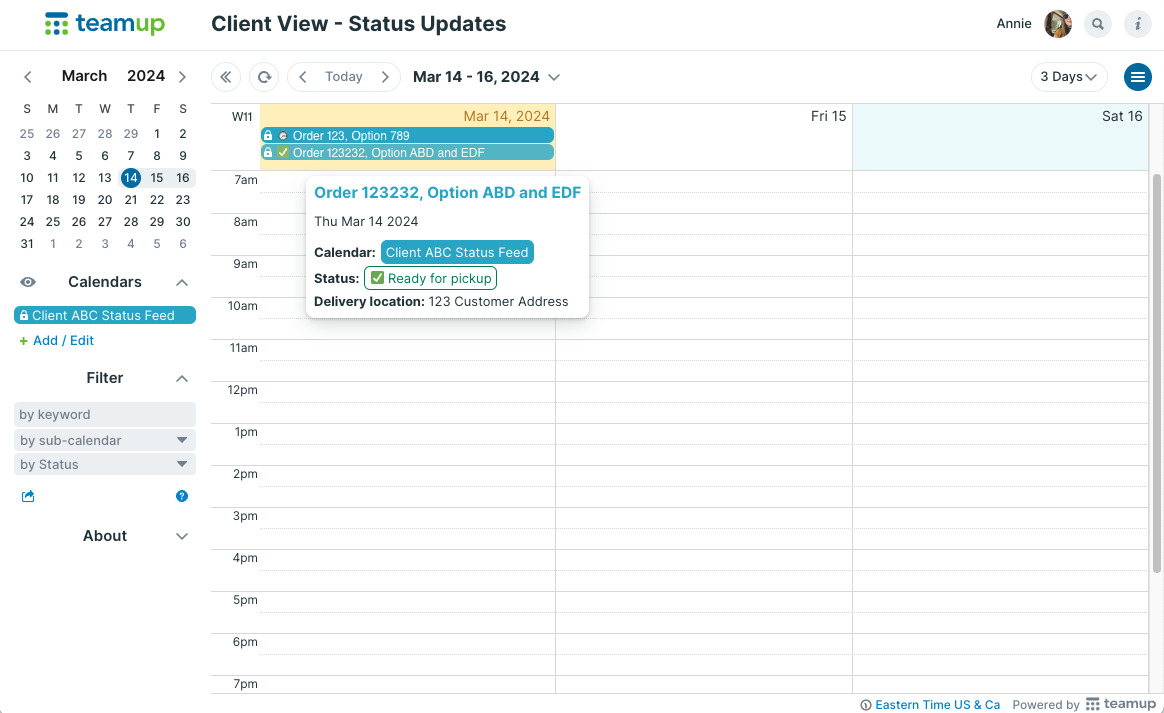
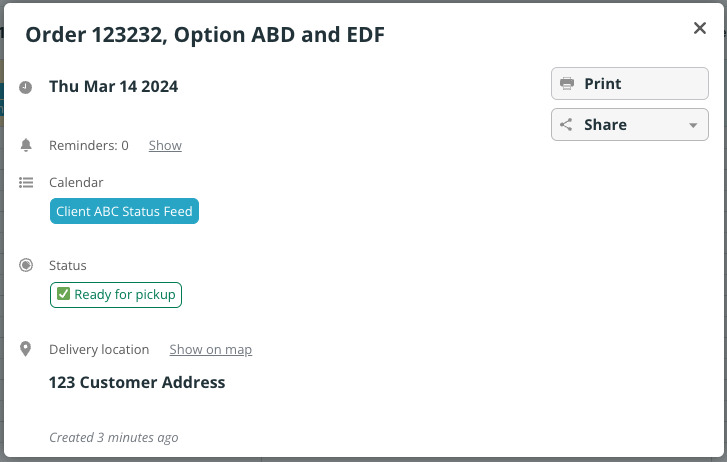
- The result will be a Client View calendar with a separate, client-specific iCalendar feed for each client, which shows only the event title, calendar name, time/date, and the duplicated custom fields which you created in the Client View calendar.
- Here's the process for Client ASD:
- Create a calendar link for each client.
- Almost done!
- In the Client View calendar, go to Settings > Sharing > Create Link.
- For Client ABC:
- Repeat this process for your other clients.
Set it up for automatic syncing and limited information sharing
It takes a little bit of work to set this system up, but once you do everything syncs automatically. Clients can check their projects/orders in the Client View calendar anytime, without interrupting your staff.
If a client leaves, you can deactivate their iCalendar feed and delete their link in the Client View calendar, and deactivate their sub-calendar in the Source calendar.
When you get a new client, you set them up with a designated sub-calendar in the Source calendar and client-specific iCalendar feed in the Client View calendar, then give them the read-only link to view their feed.
